
Mural Painting Tips
So you want to paint a mural? Here are some tips from a pro.
I’ve painted over 1,200 murals in my career, and I can tell you I have learned A LOT over the years. I paint some pretty intense stuff these days (5 story buildings, hyper-realistic images, massive signs) but I started out painting cute little kids’ rooms and really simple designs.


The main thing I have learned over the years is…
PAINTING A MURAL ISN’T ROCKET SCIENCE
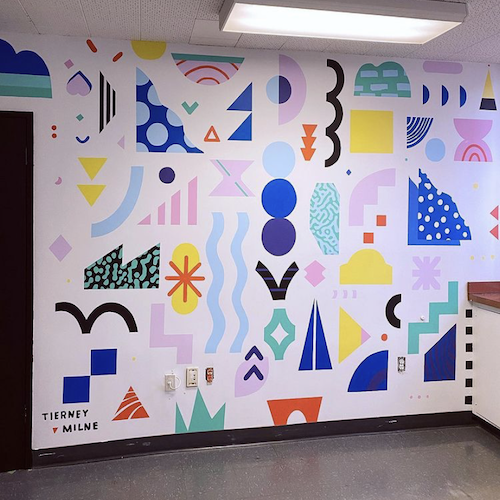
Here are a few of my first murals in 2004:
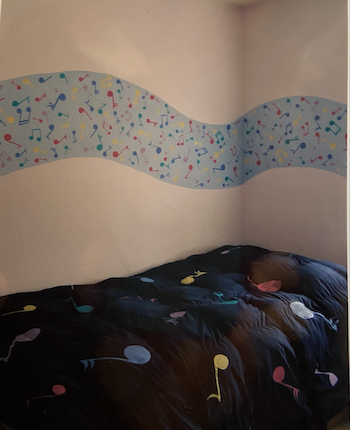
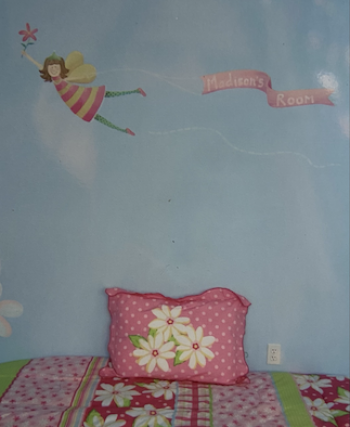
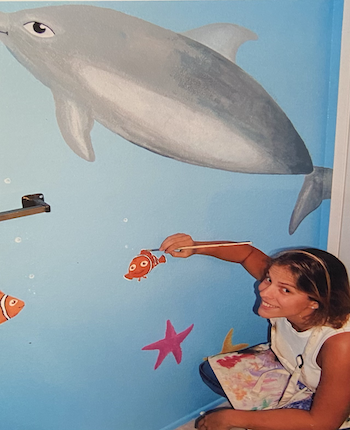
You can see that your first attempt won’t be your best, but don’t let that stop you from starting.
So here’s what you’ll need to get started painting your first mural.
Mural Supply Checklist:
A drop cloth. You can buy a roll of light plastic for $2-3.
A few different size paintbrushes. I would pick up a cheap pack at Michael’s of kid’s craft brushes and one 2-3” brush from a hardware store.
A bucket or can for water
A stepladder
A plastic plate or a plastic cover of some kind that you can use as a palette.
Paint. You can use craft paint or house paint. I would recommend you buy craft paints from Michaels that are about $1 for 2 ounces. For colors you need more of, buy the tester paints from Home Depot. They are about $3 for 8 ounces. If you are painting a whole wall or background, buy a quart or gallon. Buy satin or eggshell. Note: Any sheen of paint (semigloss, gloss, satin, eggshell, matte, flat) can be mixed with each other. They will have a different shininess but they work fine together. You can also use either interior or exterior; there is not a big difference. Most paint can be mixed together. Just do not get oil-based paint.
You may need a screwdriver to open the paint can.
Chalk or pencil for drawing on the wall. I prefer chalk because it rubs off easily with a rag.
A few old rags or t-shirts.
A yardstick or ruler or level.
Painters tape if you’re doing straight lines. I don’t love tape because it always leaks. I prefer drawing the line with a pencil and painting it by hand. if you do use tape, buy high-quality tape and push it down very hard on the wall to make it adhere well.
Roller, roller cover, paint tray, and paint tray cover if you’re painting a whole wall one color. You can buy a set that includes all of this at Home Depot. It’s about $11.
So now that you have your supplies, what’s next? Let’s do a step by step on how to paint a mural:
Step 1: Choose your wall/s.
Pick a wall that doesn’t have a crazy rough texture. It’s easier to paint on a smoother wall. The orange peel texture in most homes is fine. Wipe the wall down with your rag if it’s got cobwebs or dirt on it. Primer is not necessary for painting walls! You can just paint right on the wall.
Step 2: Decide what you’re going to paint.
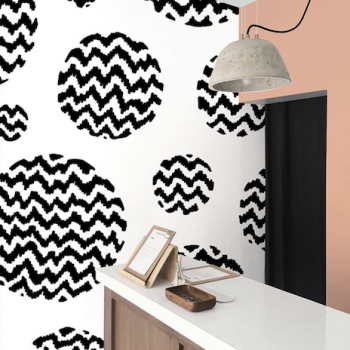
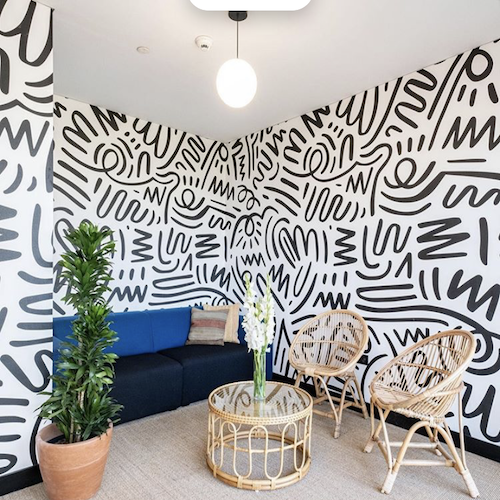
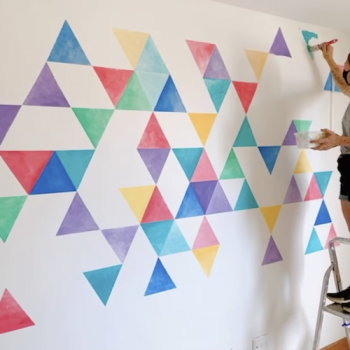
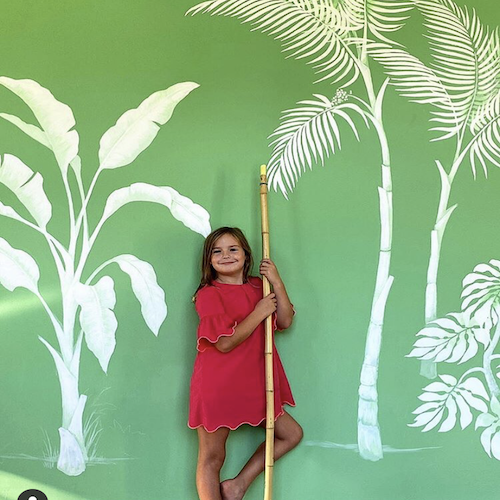
Go easy on yourself! It’s your first mural, so choose something simple. You’re not Michelangelo. Scroll through Pinterest and get some inspiration. I love screen shooting a few images and putting them together to create something new. Here are some simple ideas from the internet that you could use as a jumping-off point.
Step 3: Wall Color
If you need to change the overall color of the wall, paint that first. Use your 2-3” brush for the edges and roll out the rest. Let it dry for about an hour or two.
If you’ve made drips or smudges, those can be cleaned up later. If you spilled a bit on the carpet, just wipe up as much as you can while it’s wet and pour lots of water on it. If you spilled it on the wood or laminate floors or wooden furniture, it will easily come off with a rag or a magic eraser later on. I have spilled paint on EVERYTHING over the years, and it usually comes out.
Step 4: Transfer your design onto the wall
I prefer to use chalk. If it’s a simple design like a few of the above images, just freehand it and stand back to see how it will look. If you need to use a level and tape, that works too. If it is a very complex image, use a grid.
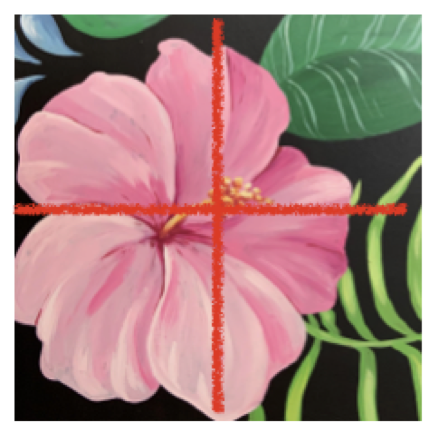
For example, if you were painting the hibiscus flower below, you would draw the red grid on a printout of your image. Each box should be the same size. Let’s say the hibiscus flower was 4” by 4” on your paper, so each square would be 2” by 2”. Then use your chalk to draw a 4 foot by 4-foot grid on the wall using your level. Each square would be 2 feet by 2 feet. Then you use the lines as guides to

Step 5: Let’s paint!
Pour some of your paint on your palette. You usually need less than you think, so start with a pretty small amount. Most craft paints are strong colors, so I tend to mix white in with a lot of my paints. Most paint will dry in about 15-30 minutes, so you can add another coat pretty quickly.
Paint over your chalk lines and start painting your design. If your paint seems thick, you can get your brush a bit wet or add a tiny bit of water to your paint. You don’t want it to drip but it will help it flow a bit better. Don’t get your paintbrush completely covered up to the metal part; just dip it in paint and then smooth it out and wipe away any excess paint on your palette.
Step 6: Don’t Freak out because you think you’re doing a terrible job
Don’t worry! Just know that no one will ever look at this mural as closely as you are looking at it right now. Most people will stand about 6 feet away when viewing it. You are 6 INCHES away! So if you get stressed out, just walk away, drink a glass of water, eat a piece of chocolate, chug a beer, do a sun salutation and then come back to it with fresh eyes. It is often not as bad as you think.
Step 7: Touch-ups
Do touch-ups with a smaller brush. Wipe away any excess chalk with a damp rag. Erase any pencil marks. Wash your brushes with water. No need to do a topcoat or sealer. Paint is tough and will last a long time.
Congratulations! You just painted your first mural. Hopefully, it’s the first of many. It may not have turned out exactly how you planned, but that’s the fun of it. Keep practicing. Creativity is a work in progress and the more you practice, the more talented you will get.
And if you REALLY screwed up, give me a call and I can come over and help you fix it. I have rescued many people from a mural mess up.
Good luck!